DIY Pool Water Testing: How to Use a Pool Water Testing Kit Effectively

A crystal-clear, inviting swimming pool is a joy during the scorching summer months. However, maintaining your pool’s water quality goes beyond appearances; it’s a matter of safety and comfort. In this comprehensive guide, we’ll explore the world of DIY pool water testing and learn how to effectively utilize a pool water testing kit.
Understanding Pool Water Chemistry
Your pool’s water chemistry is a delicate balance of several crucial components:
- pH Levels: pH measures the acidity or alkalinity of your pool water. Maintaining the correct pH level (ideally between 7.4 and 7.6) is crucial for swimmer comfort and equipment longevity.
- Chlorine Levels: Chlorine acts as a disinfectant, keeping your pool free from harmful contaminants. The recommended chlorine levels typically range from 1.0 to 3.0 parts per million (ppm).
- Total Alkalinity: Total alkalinity helps stabilize pH levels, preventing rapid fluctuations that can cause discomfort and equipment damage. Aim for total alkalinity levels between 80 and 120 ppm.
- Cyanuric Acid (Stabilizer): Cyanuric acid serves as a stabilizer, protecting chlorine from degradation due to UV rays. Maintain stabilizer levels at 30 to 50 ppm.

Selecting the Right Pool Water Testing Kit
Choosing the appropriate pool water testing kit is a pivotal decision to maintain your pool’s water quality at its best. Here, we delve deeper into the considerations to help you make an informed choice:
Types of Testing Kits:
- Liquid Test Kits: These kits are renowned for their precision and accuracy in measuring key parameters such as pH, chlorine, and alkalinity. However, they often involve multiple steps, including adding reagents and color comparisons, which can be more time-consuming.
- Test Strips: Test strips are popular for routine pool water testing due to their convenience. Dip the strip into the water and compare the resulting color changes to a provided chart. While they offer quick results, liquid kits may be more precise, especially for fine-tuned measurements.
- Digital Testing Devices: For those who value efficiency and accuracy, digital testing devices are an excellent option. These devices require minimal effort and provide swift, precise results. They often come with user-friendly interfaces and eliminate the guesswork associated with color interpretation.
Factors to Consider:
When making your selection, consider the following factors tailored to your unique needs and preferences:
- Pool Size: The size of your pool may influence your choice. Larger pools benefit from the precision of liquid or digital kits, whereas smaller pools may find test strips sufficient.
- Budget: Assess your budget, remembering that digital devices are the most expensive upfront. Consider it an investment in long-term convenience and accuracy.
- Ease of Use: Think about your comfort level with testing procedures. Liquid kits may require more steps, making them suitable for those who appreciate precision and are willing to spend more time on testing.
- Accuracy: Your desired level of accuracy should guide your decision. Liquid or digital kits may be your best bet if you seek precise measurements. Test strips are ideal for quick, regular checks.
Preparing for Testing
Before diving into pool water testing, ensure you are well-prepared:
- Gather Necessary Equipment: You’ll require your chosen testing kit, a clean container for water samples, and protective gear such as gloves and goggles.
- Safety Precautions: Handling pool chemicals responsibly is paramount. Always follow safety guidelines and ensure proper ventilation in the testing area.
- Pool Water Sample Collection: To obtain a reliable sample, follow these steps:
- Use a clean container to collect water from elbow depth.
- Avoid surface water, as it may not represent the pool’s condition.
Step-by-Step Guide to Using a Pool Water Testing Kit
Let’s explore the essential steps for effectively using a pool water testing kit, with a focus on test strips, one of the popular choices for routine pool maintenance:
Test Strips:
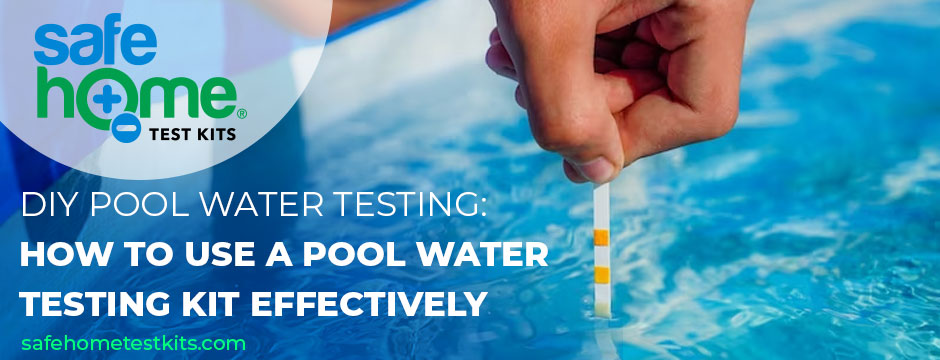
- Dip the Strip into Pool Water: Start by submerging the test strip into the pool water. Be sure to immerse it thoroughly and then remove it promptly. The strip will quickly absorb water and initiate the chemical reactions necessary for testing.
- Wait for the Specified Time: Each test strip kit comes with specific instructions regarding the waiting time for accurate results. Typically, you’ll need to wait between 15 to 30 seconds. This duration allows the chemical reactions to occur and develop the color changes on the strip.
- Compare the Strip’s Colors: After the specified waiting period, carefully remove the test strip from the water. Hold it steady and compare the color changes on the strip to the color chart provided in the kit. Match the colors on the strip to the corresponding colors on the chart to determine the parameter levels in your pool water.
Common Mistakes to Avoid:
- Thorough Mixing and Accurate Timing: Ensure the strip is immersed entirely and evenly in the pool water. Inadequate or uneven soaking may lead to inaccurate results. Additionally, adhere to the recommended waiting time specified in the kit’s instructions. Timing is crucial for precise measurements.
- Check Expiration Dates: If applicable, before using any test strips, carefully check the expiration date on both the strips and the kit’s reagents. Expired test strips or reagents may yield unreliable results.
- Use a Clean Sample Container: If your kit requires transferring pool water to a sample container before testing (e.g., for pH testing), ensure the container is clean and free from contaminants. Even a small residue from a previous test can affect the accuracy of your current results.
- Follow the Kit’s Instructions Diligently: Each testing kit may have unique procedures and specific recommendations. Be sure to follow the provided instructions meticulously. Deviating from the instructions can lead to incorrect readings.
Interpreting Test Results
Understanding your test results is key:
Analyzing the Test Results: Carefully examine values for pH, chlorine, total alkalinity, and stabilizer.
Parameter Indications:
- pH levels: A proper pH range prevents irritation and equipment damage.
- Chlorine levels: Ideal chlorine levels ensure disinfection and prevent algae.
- Total alkalinity: Maintaining this stabilizes pH.
- Stabilizer levels: Adequate stabilizer protects chlorine.
Comparing to Ideal Ranges: Use a chart to compare results to ideal ranges.
Adjusting Pool Water Chemistry: Based on results, adjust pH, chlorine, alkalinity, and stabilizer levels as needed.
Regular Maintenance and Testing Schedule
Consistency in testing is essential:
- Routine testing (weekly or bi-weekly) is vital for effective pool maintenance.
- Keep records to identify trends and potential issues.
- Adjustments may be needed based on seasonal considerations.
Tips for Pool Water Maintenance
Additional information for maintaining pool water quality:
- Ensure proper filtration and circulation for adequate water circulation.
- Regularly clean and skim the pool to remove debris.
- Use shock treatments when needed to maintain chlorine levels.
- Manage other parameters like calcium hardness and total dissolved solids (TDS).

Conclusion
DIY pool water testing empowers owners to maintain a safe and enjoyable swimming experience. You can keep your pool water balanced and inviting by understanding pool water chemistry, selecting the right testing kit, and following proper testing procedures. Remember the importance of regular testing and maintenance, and don’t hesitate to seek assistance if needed. Enjoy your pristine pool and swim with confidence!
For more informative information on pool water testing, follow our blog section at Safe Home®!


